 全国服务热线:
13593788711
热门关键词:
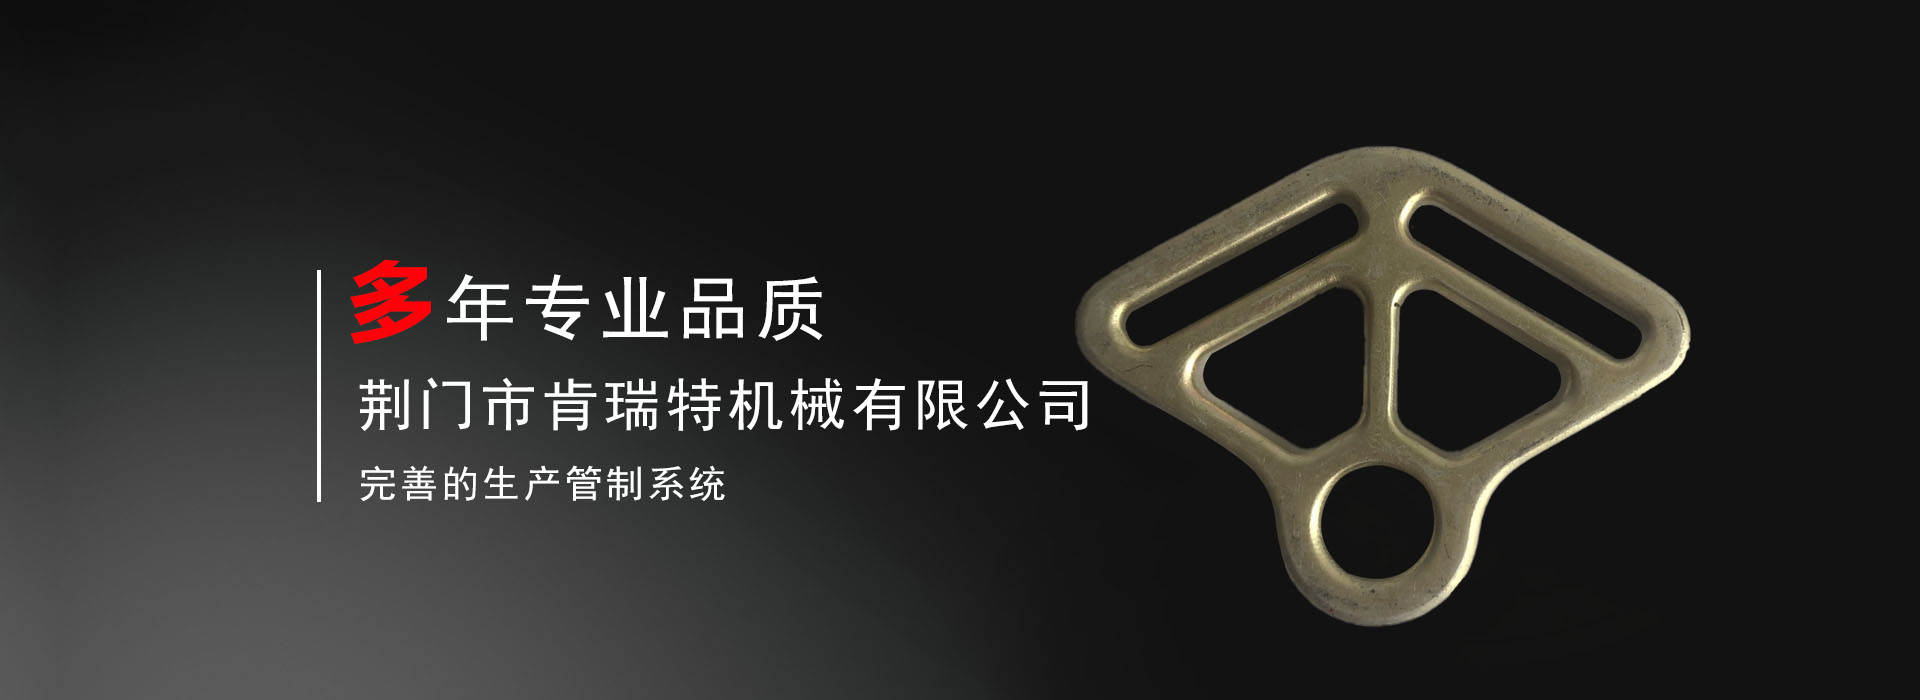
专业技术团队,按需定制,产品精度高
生产设备先进,高精密度生产
出厂前严格检验,保证产品合格
完善的售后服务,为客户保驾护航
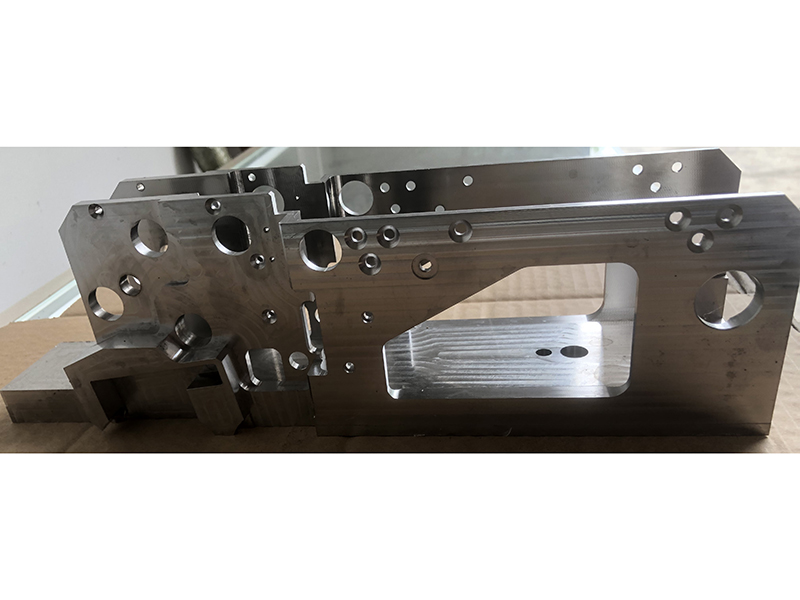
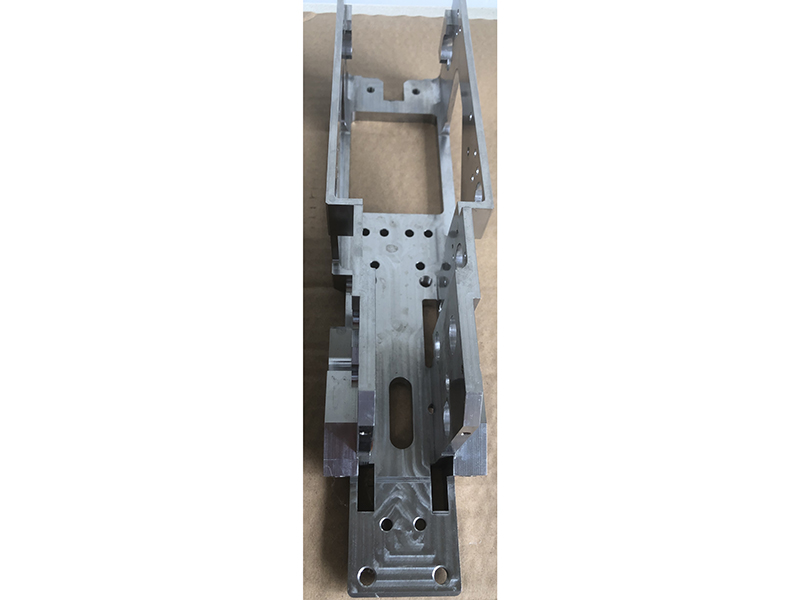
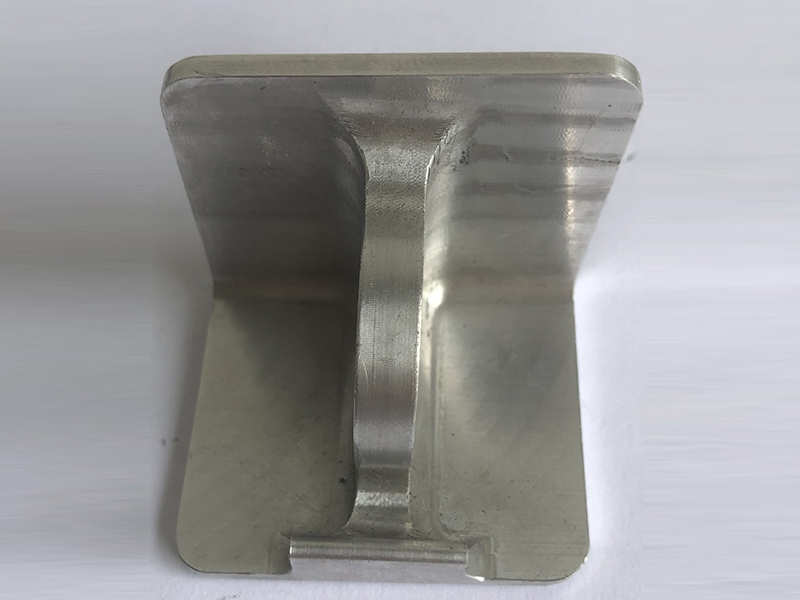
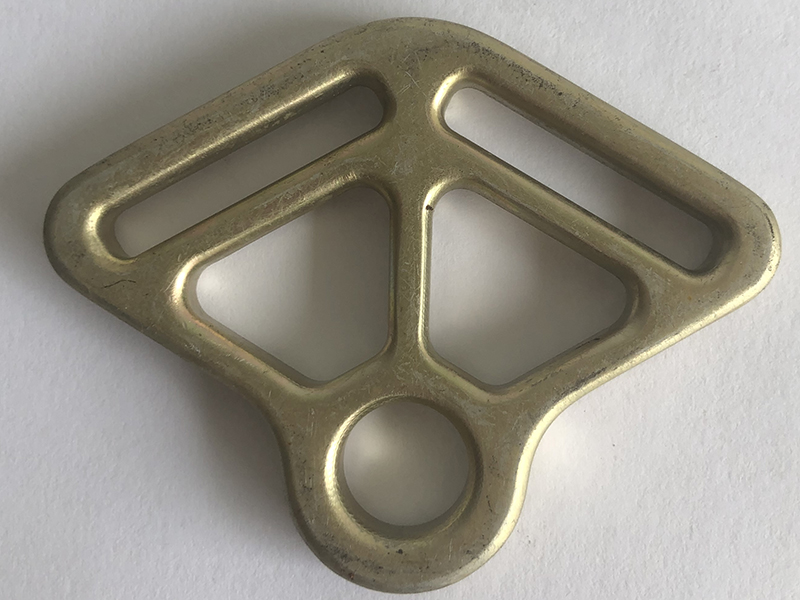
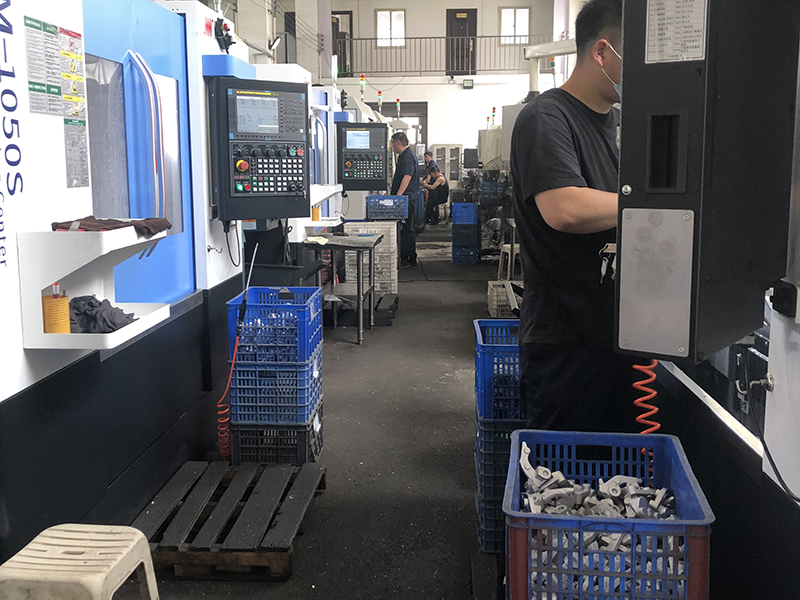
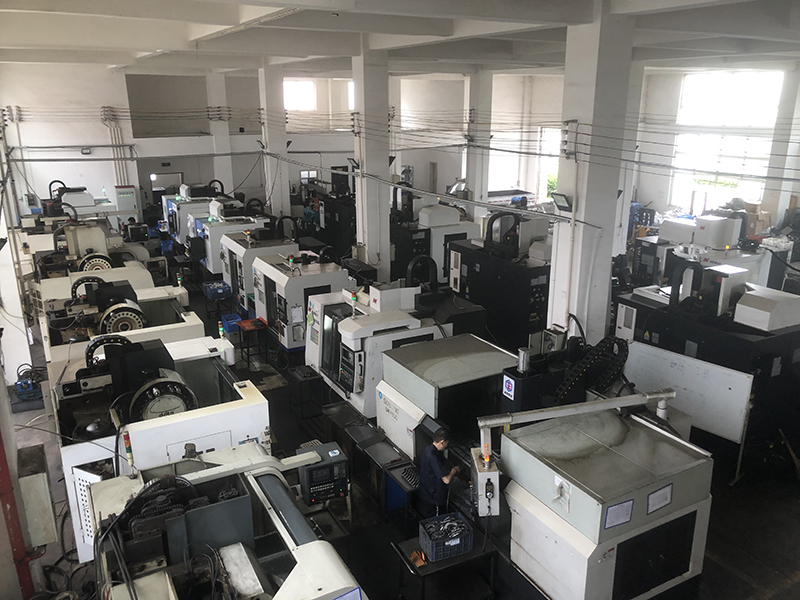
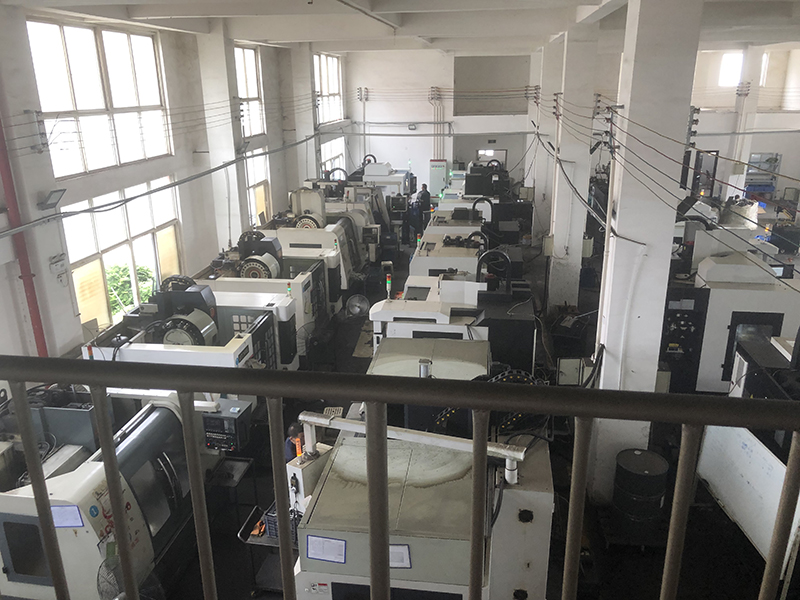
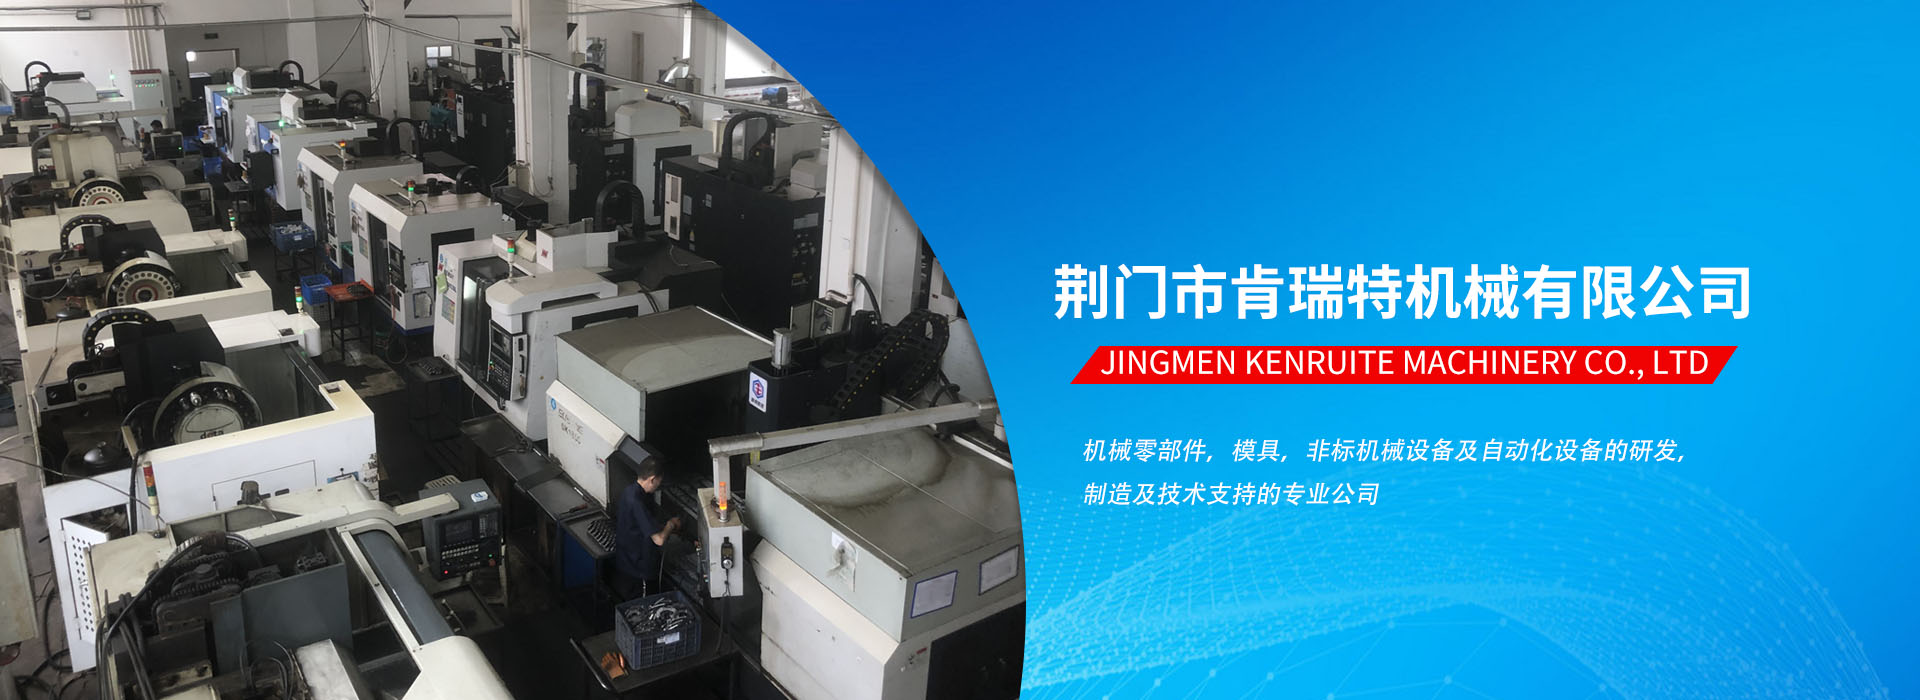
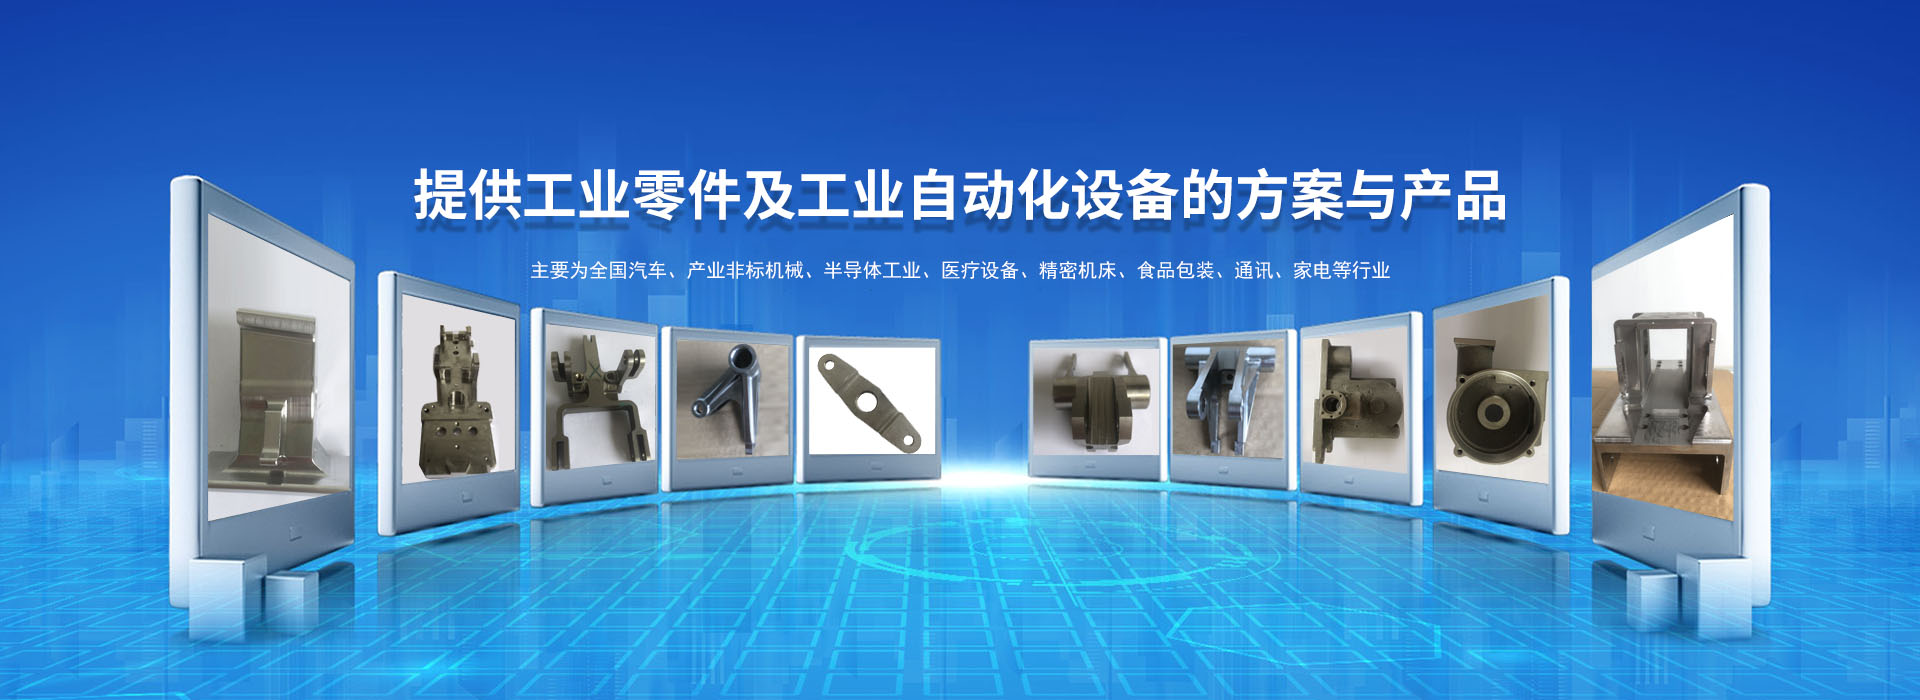
乐动网页版【中国】有限公司成立于2011年,如今公司有员工30余人,技术人员12人,生产用数控加工中心23台,普通设备12台,是一家专业以汽车零部件、机械零部件、模具、非标机械设备的设计生产制造与销售的私营企业。公司自成立以来一直专业致力于机械制造领域,始终坚持发扬“诚信、创新、沟通”为企业宗旨。以“技术、质量、服务”为立业之本的团队精神,并形成一套完整的设计、生产制造、销售一站式服务体系。2021年先后被评为湖北高新技术企业、立信单位,并通过ISO 9001质量体系认证。
公司与湖北地区众多知名企业建立了良好、稳固的合作伙伴关系。并先后成为:中国特种飞行器研究所、湖北航特装备、湖北航特科技亿纬动力、福耀玻璃等众多知名企业的紧密合作伙伴。在行业内以雄厚的技术力量、优良的质量观念赢得了众多客户的肯定和一致好评。我们凭借良好的信誉、扎实的技术和优良的品质,定将为您提供更专业的技术支持和服务。
本公司本着以客户三个满意为基本原则:“产品质量的满意、先进技术的满意、售后服务的满意”,不断加强企业内部的综合竞争力,公司在竞争中求发展,在挑战中谋机遇,相信我公司会给您提供最好、最优质的产品,相信我公司会为您提供最先进的技术和完善的售后服务。勤劳、创新和真诚的我们愿与您携手并进、共创辉煌!
查看更多